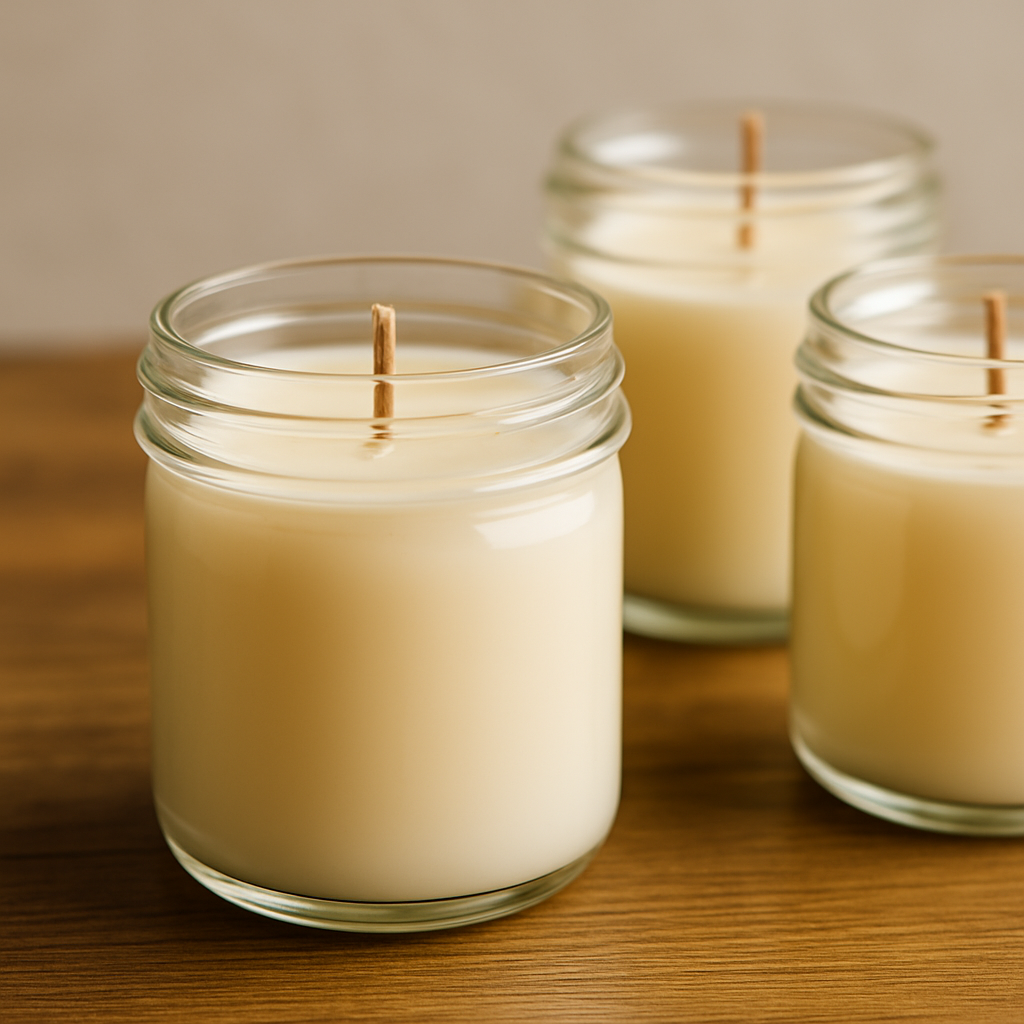
Homemade scented candles are not just charming and relaxing—they’re also a creative way to reuse glass jars and personalize your home with fragrance and style. Whether you want to create a cozy atmosphere, give meaningful handmade gifts, or explore a new hobby, this tutorial is a perfect starting point.
With simple materials and a little care, anyone can make beautifully fragrant candles at home. In this article, we’ll walk you through the step-by-step process to create your own scented candles in glass jars.
Why Make Your Own Scented Candles?
Store-bought candles can be expensive and full of synthetic ingredients. Making your own scented candles in glass jars is not only cost-effective but also lets you control the scent, color, and ingredients. It’s a perfect craft for beginners and an excellent gift idea for any occasion.
Benefits of Homemade Candles
- Natural ingredients: Use soy or beeswax instead of paraffin
- Custom scents: Create calming, energizing, or festive aromas
- Eco-friendly: Reuse glass jars and avoid excess packaging
- Budget-friendly: High-end candles for a fraction of the price
- Great gifts: Handmade candles are thoughtful and personal
Materials You’ll Need
| Item | Purpose |
|---|---|
| Glass jars | Containers for your candles |
| Wax (soy, beeswax, or paraffin) | The candle base |
| Wick | To burn the candle |
| Fragrance oil or essential oils | For scent |
| Wick stickers or hot glue | To fix the wick to the jar base |
| Double boiler or heat-safe container | To melt the wax |
| Wooden stick or wick holder | To hold the wick in place |
| Thermometer (optional) | To check wax temperature before pouring |
How to Make Scented Candles in Glass Jars
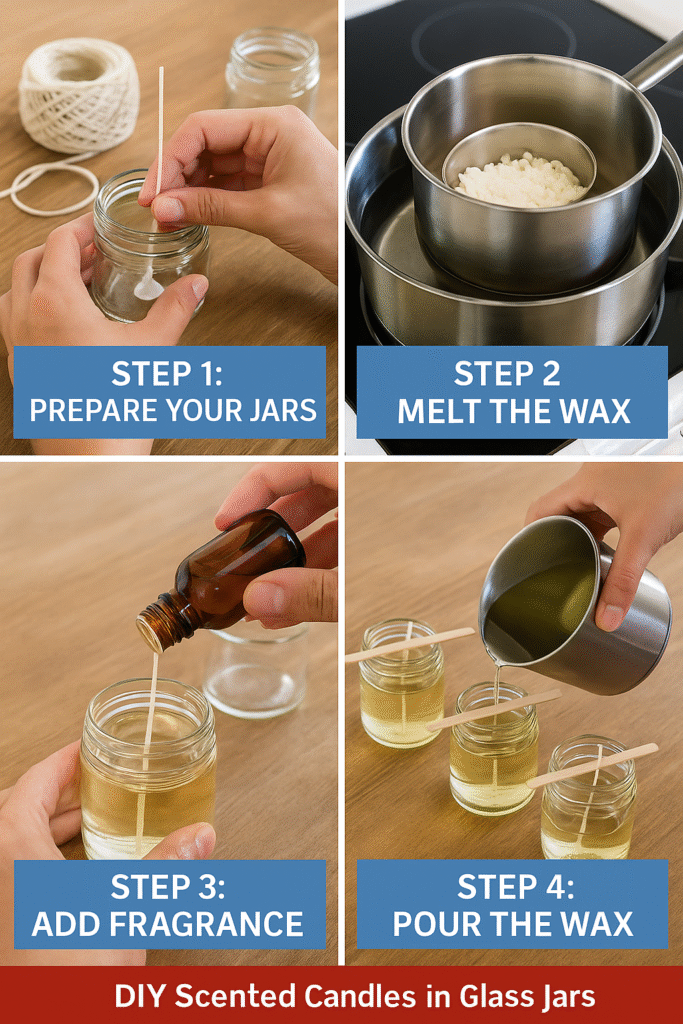
Step 1: Prepare Your Jars
Clean and dry your glass jars. Fix the wick in the center of each jar using a wick sticker or a drop of hot glue. Use a wooden stick or pencil to keep the wick upright and centered.
Step 2: Melt the Wax
Use a double boiler or a microwave-safe container to melt your wax slowly. Avoid overheating. The ideal pouring temperature for soy wax is around 120–140°F (50–60°C).
Step 3: Add Fragrance
Once melted, remove the wax from heat and let it cool slightly. Add your chosen essential or fragrance oil. A good rule of thumb is 1 ounce of fragrance per pound of wax.
Step 4: Pour the Wax
Carefully pour the scented wax into each jar. Leave a bit of space at the top. Keep the wick centered while the wax sets.
Step 5: Let It Set
Allow the candles to cool and harden completely (around 4–6 hours). Trim the wick to about ¼ inch before burning.
Popular Scent Combinations
- Lavender + Vanilla: Relaxing and soft
- Cinnamon + Orange: Warm and festive
- Eucalyptus + Mint: Fresh and clean
- Rose + Sandalwood: Romantic and earthy
- Lemon + Basil: Uplifting and herbal
Creative Uses for Your DIY Candles
- Gifts: Wrap in kraft paper or add labels for special occasions
- Home décor: Use as centerpieces or bathroom accents
- Mood setting: Place in bedrooms, offices, or entryways
- Aromatherapy: Match scents to energy, focus, or relaxation
Safety Tips
- Never leave a burning candle unattended
- Always trim the wick before each use
- Keep away from drafts, pets, and children
- Use heat-resistant jars only